https://www.gatsbyjs.com/docs/quick-start/
Quick Start | Gatsby
This quick start is intended for intermediate to advanced developers. For a gentler intro to Gatsby, head to our tutorial ! Getting started…
www.gatsbyjs.com
1. Gatsby 홈페이지 접속
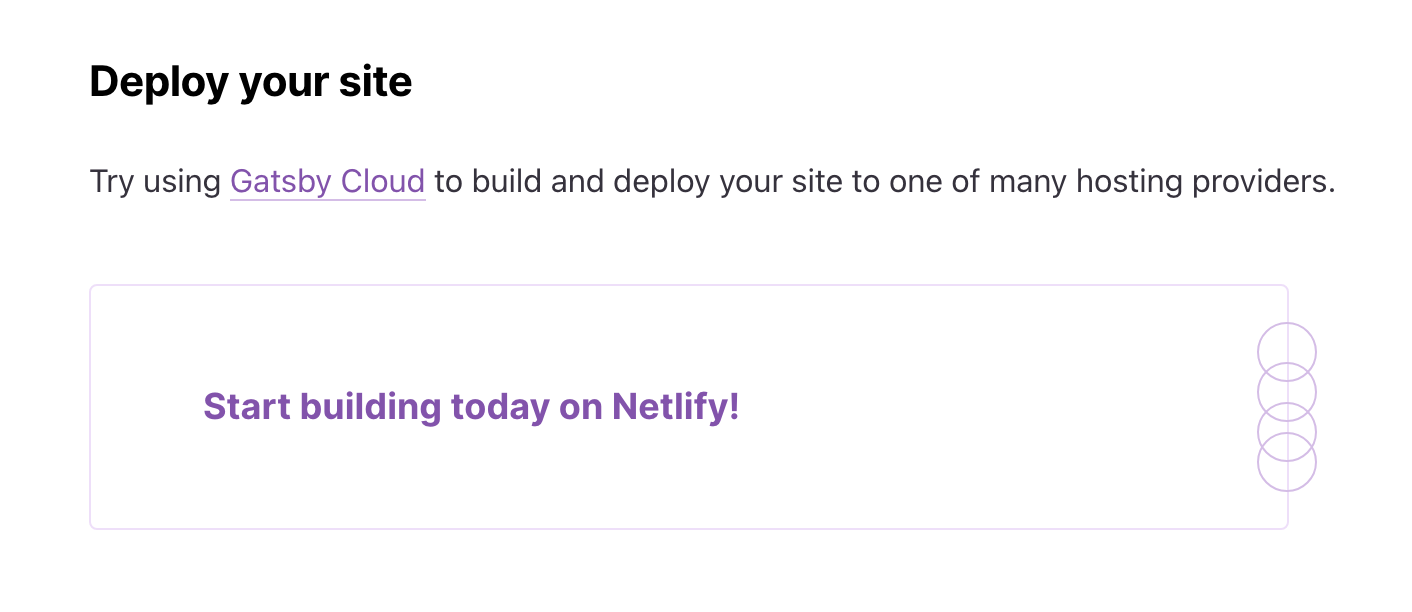
Gatsby Documentation Quick Start 하단을 보시면 Deploy your site라는 항목을 볼 수 있습니다.
2. Netlify 홈페이지 접속
여기서 Start building today on Netlify를 클릭하여 Netlify 홈페이지에 접속합니다.
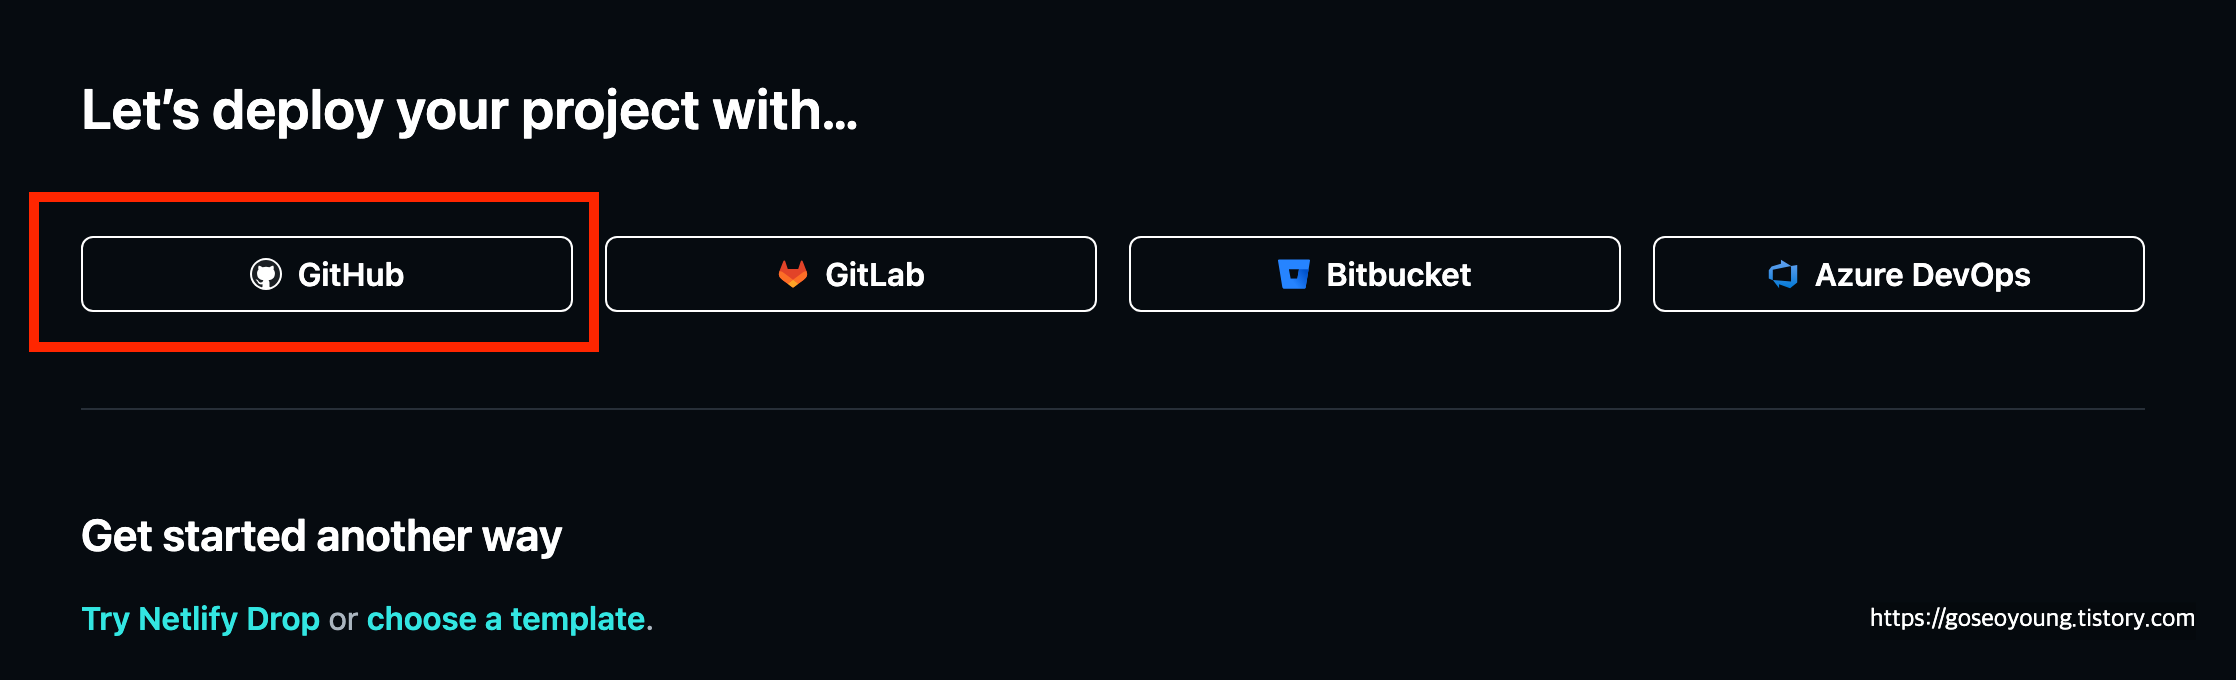
접속을 하면 로그인을 해야하는데 저는 GitHub 아이디로 로그인 했습니다.
3. 본인 Repository의 Gatsby 블로그 import
https://goseoyoung.tistory.com/47
[Gatsby 블로그] 템플릿 사용해서 localhost 블로그 띄워보기
https://www.gatsbyjs.com/starters/LekoArts/gatsby-starter-minimal-blog/ gatsby-starter-minimal-blog | GatsbyThis starter is part of a german tutorial series on Gatsby. The starter will change over time to use more advanced stuff (feel free to express your
goseoyoung.tistory.com
사전에 Gatsby를 localhost에 띄워봤는데요
이 때 사용한 코드를 본인의 Repository와 연동을 해놓은 상태여야합니다.
연동방법은 아래 포스팅을 참고해주세요.
https://goseoyoung.tistory.com/48
[Gatsby 블로그] GitHub Repository 연동하기
https://goseoyoung.tistory.com/47 [Gatsby 블로그] 템플릿 사용해서 localhost 블로그 띄워보기https://www.gatsbyjs.com/starters/LekoArts/gatsby-starter-minimal-blog/ gatsby-starter-minimal-blog | GatsbyThis starter is part of a german tutor
goseoyoung.tistory.com
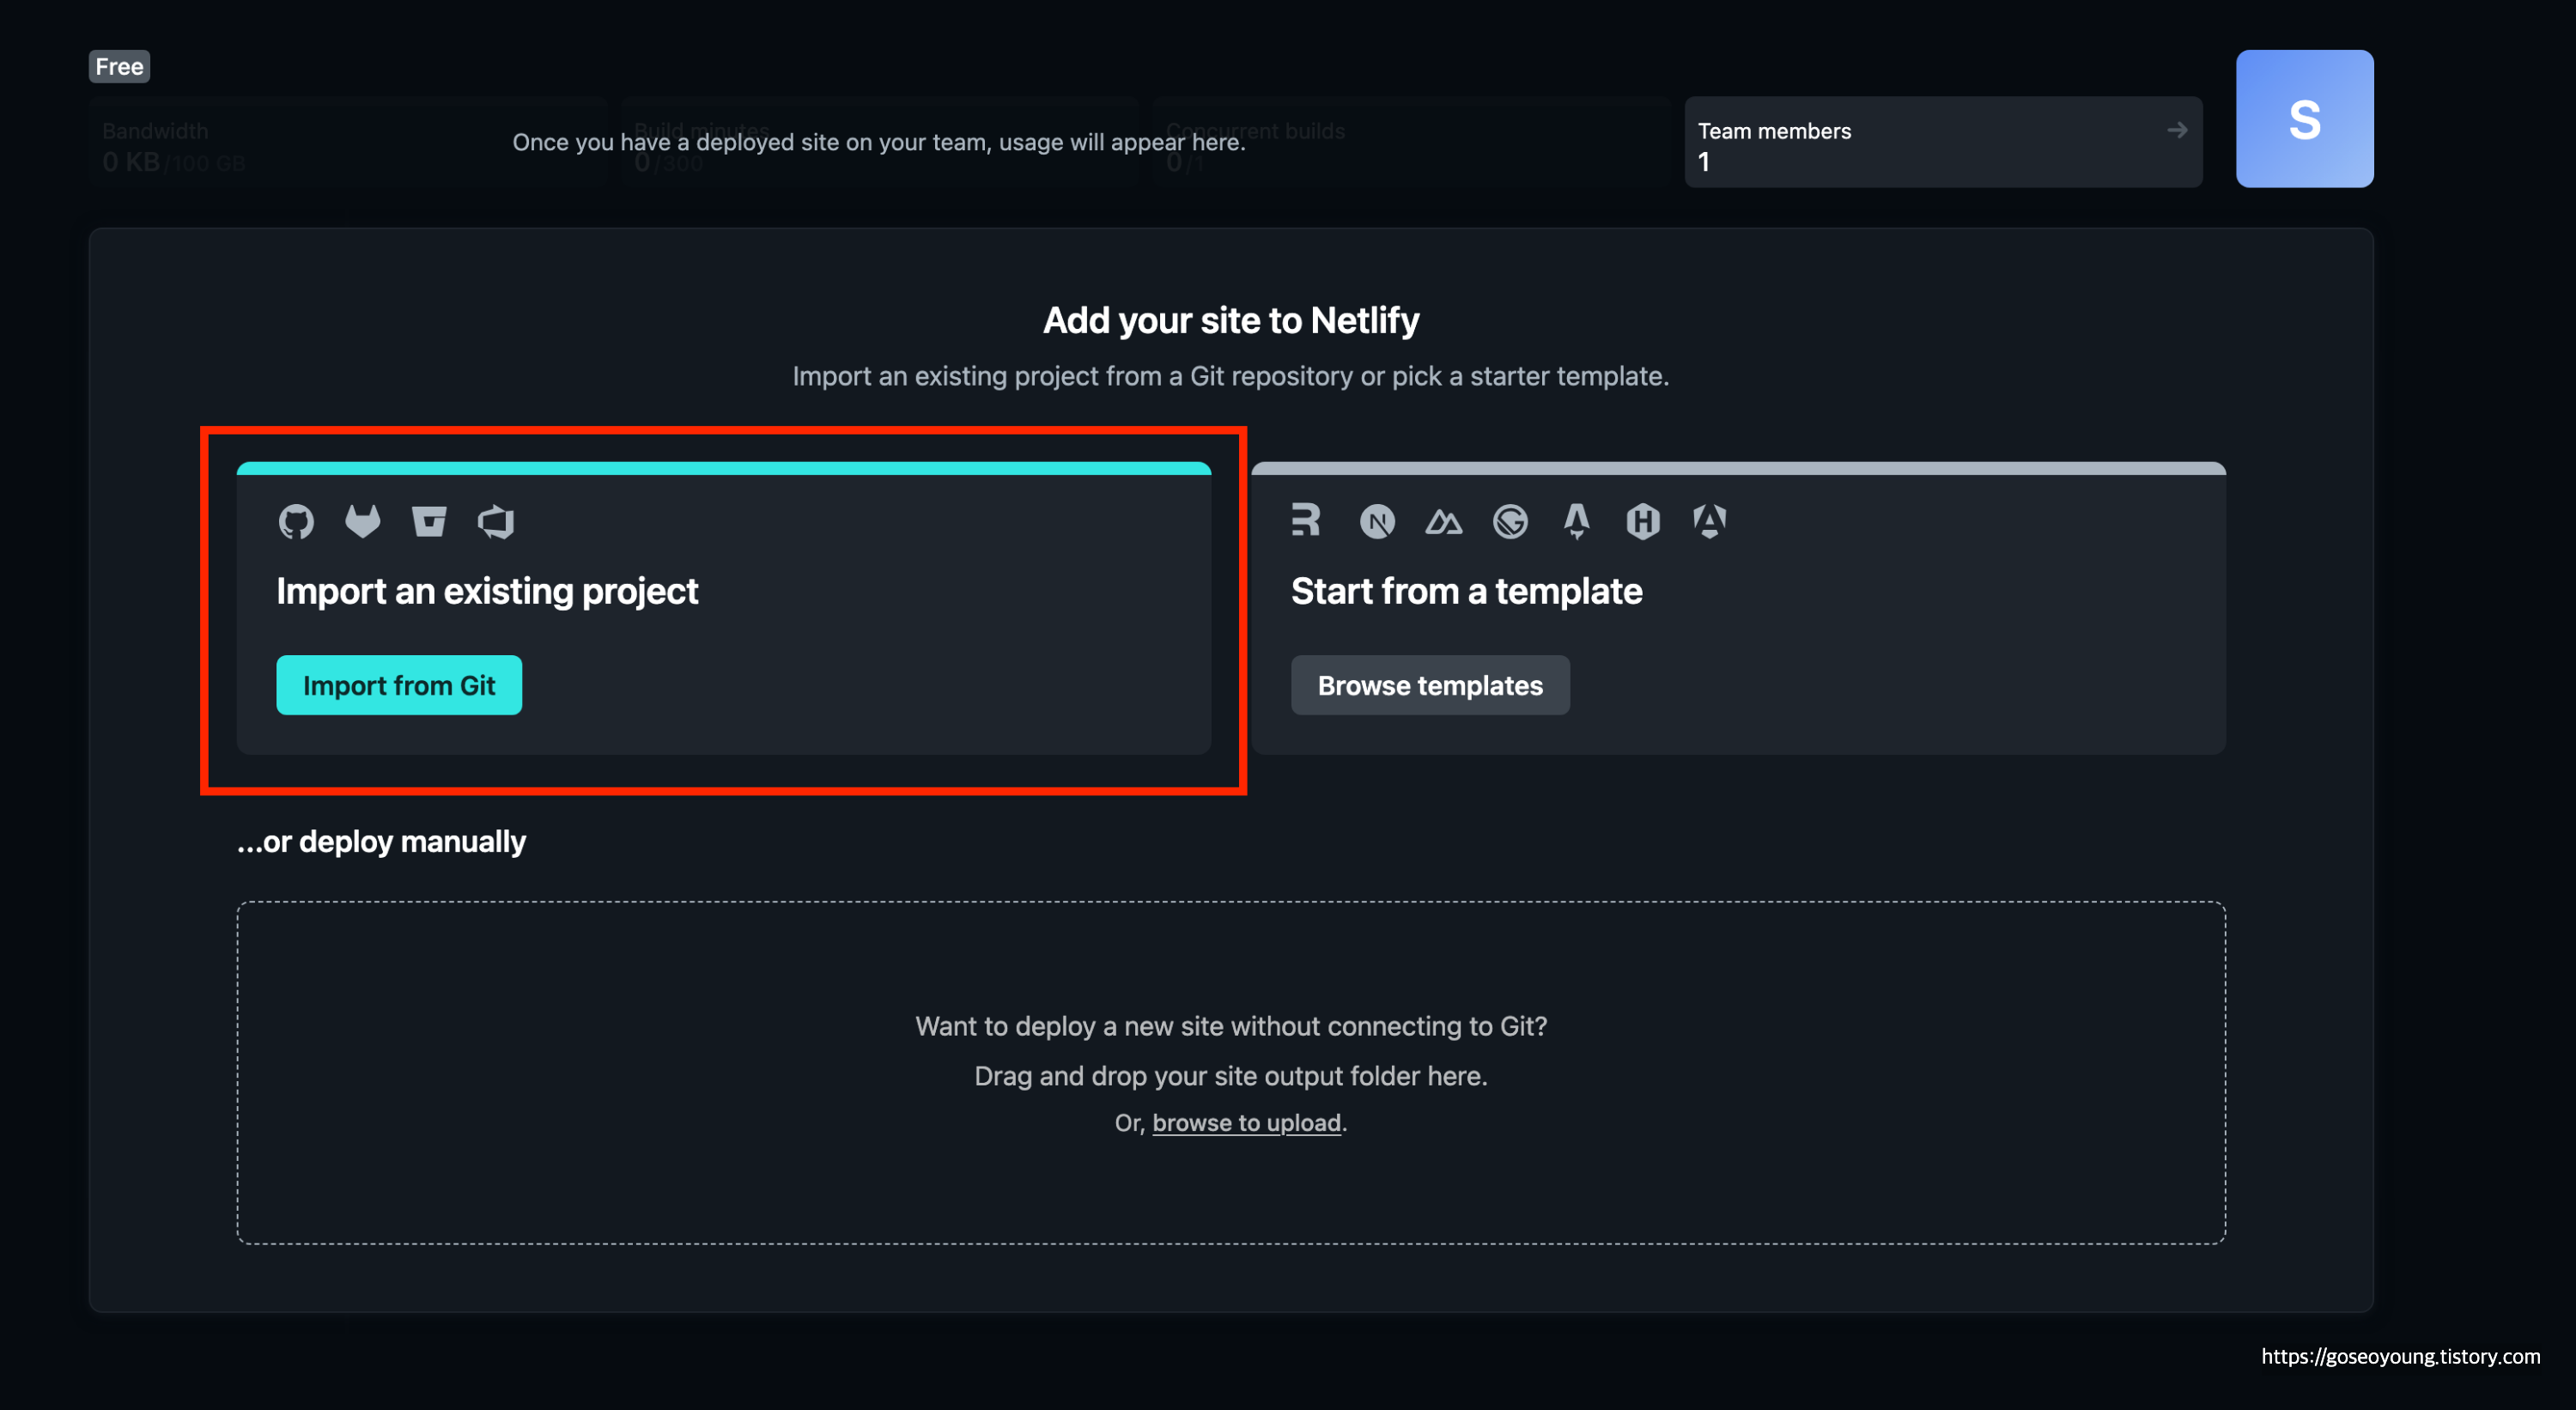
Netlify 홈페이지에 접속 후 로그인하면 아래와 같은 화면을 볼 수 있습니다.
여기서 import from Git 버튼을 클릭해서 Repository를 배포해볼게요
내용은 netlifydocs를 참고했습니다.
https://docs.netlify.com/get-started/
Get started with Netlify
Get started with Netlify by deploying a demo project and trying out some key features that help manage sites, stores, or apps.
docs.netlify.com
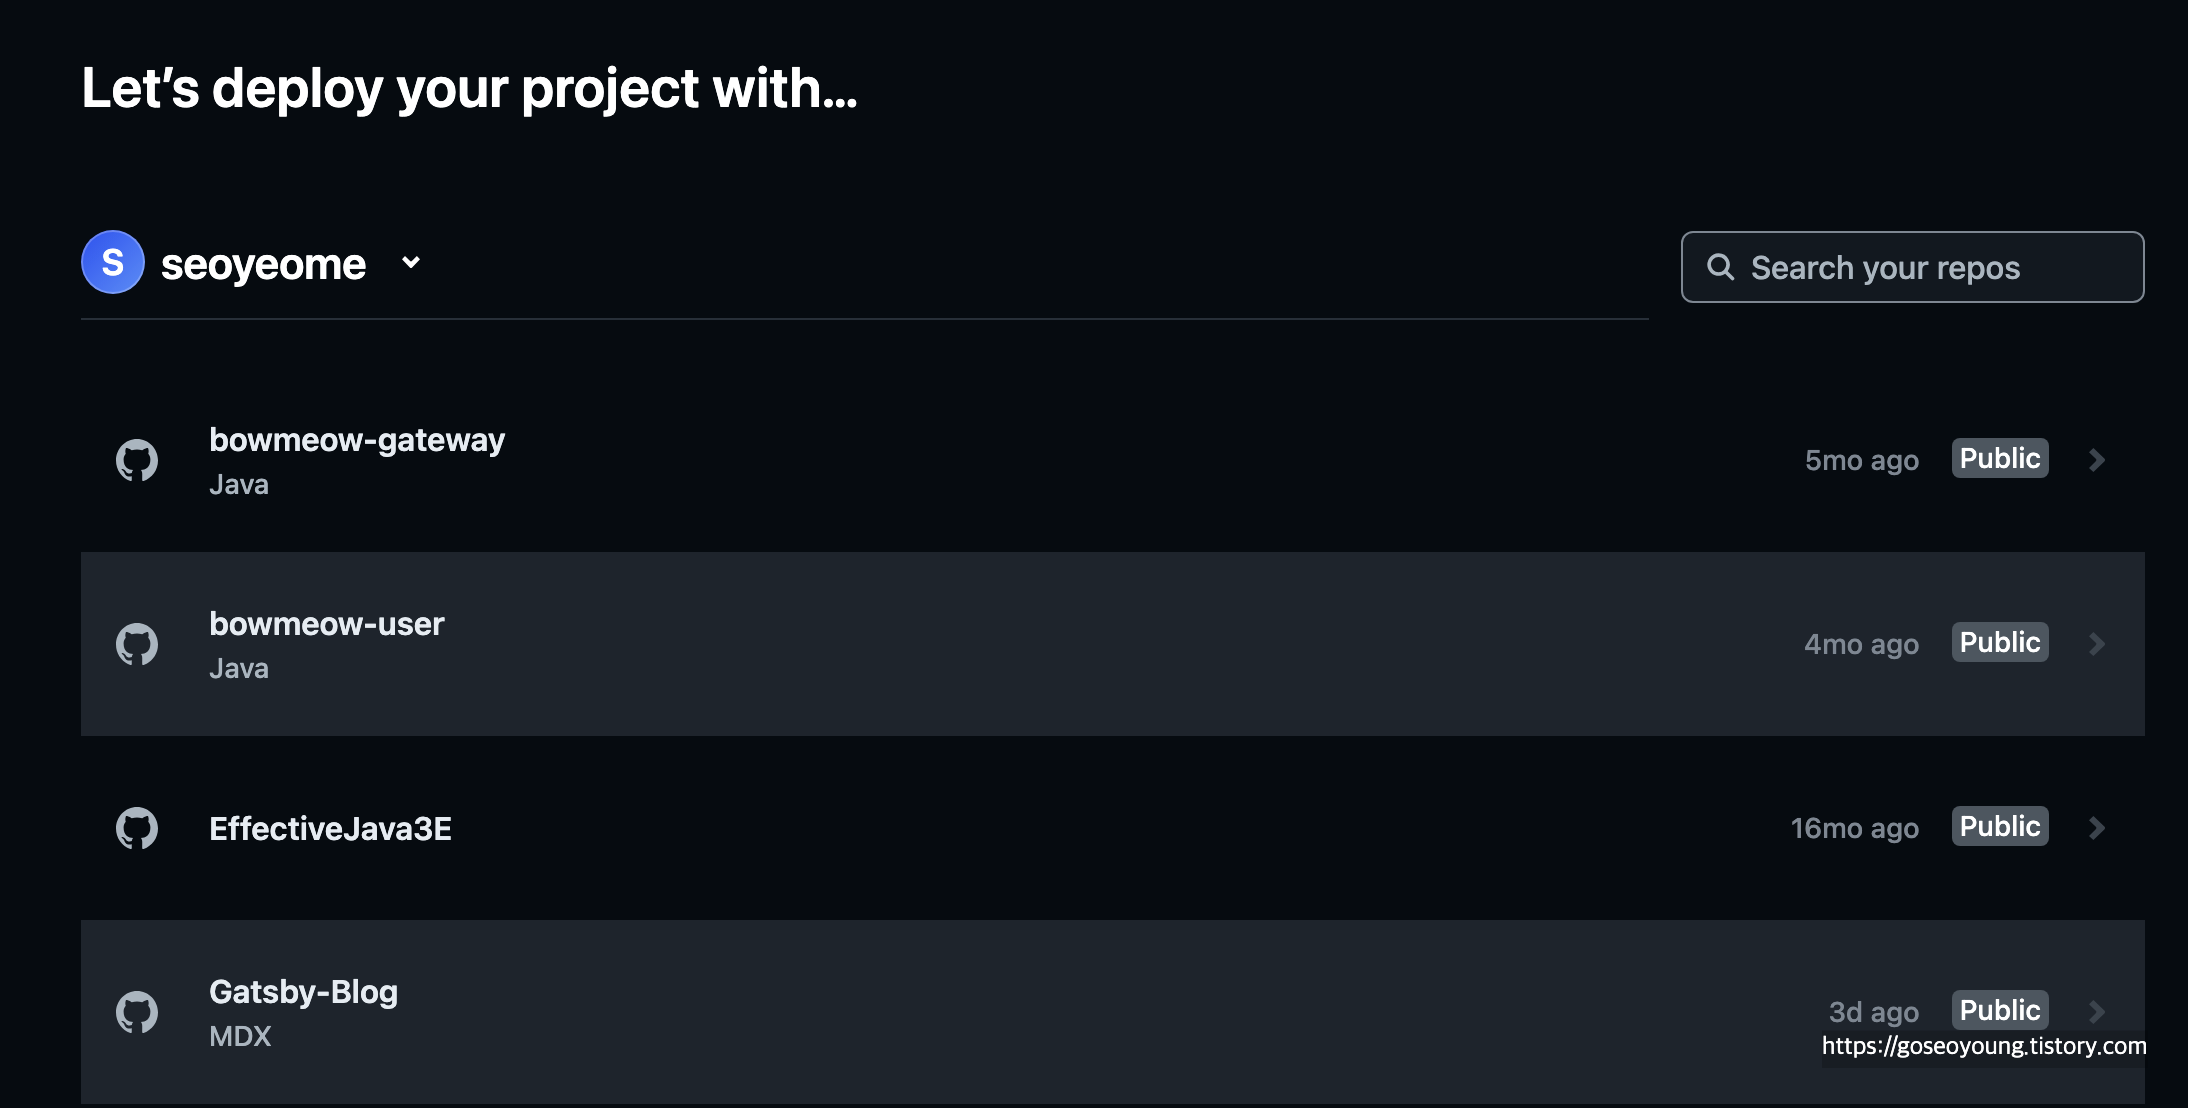
GitHub 연결에 성공하면 Repository 목록이 아래와 같이 보입니다.
- Build directory
- root directory로 프로젝트를 사용하는거면 공란으로 냅두면 됩니다.
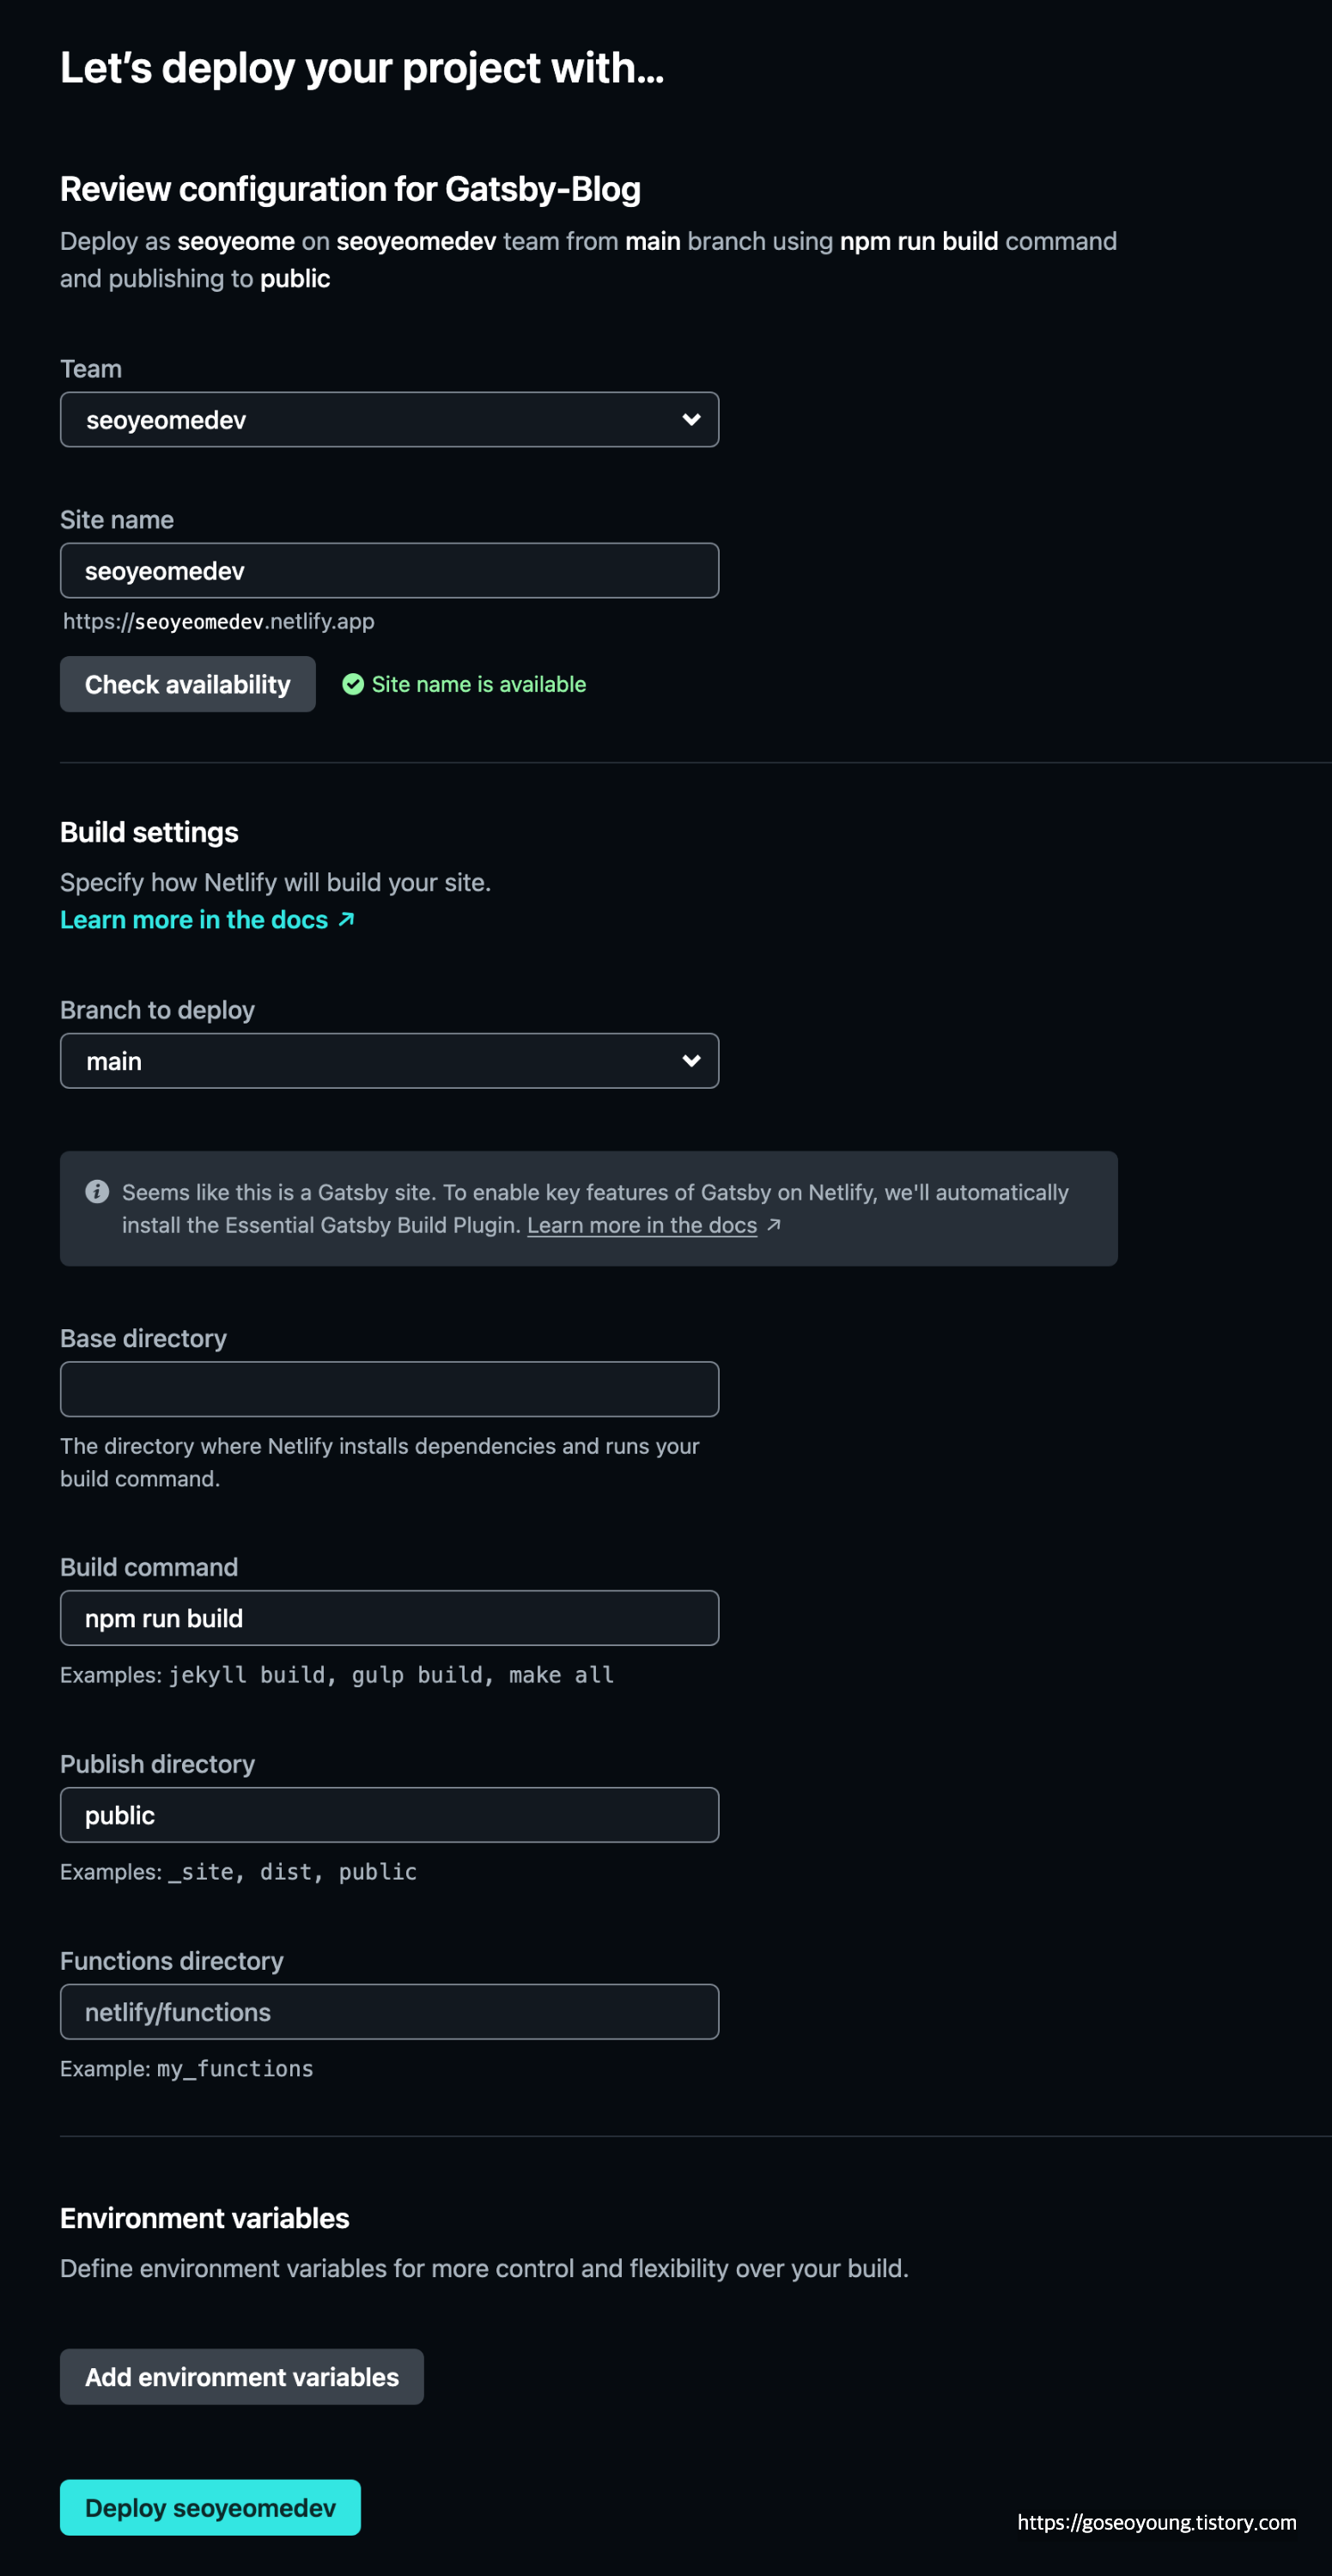
Deploy 버튼을 클릭하면 배포완료!
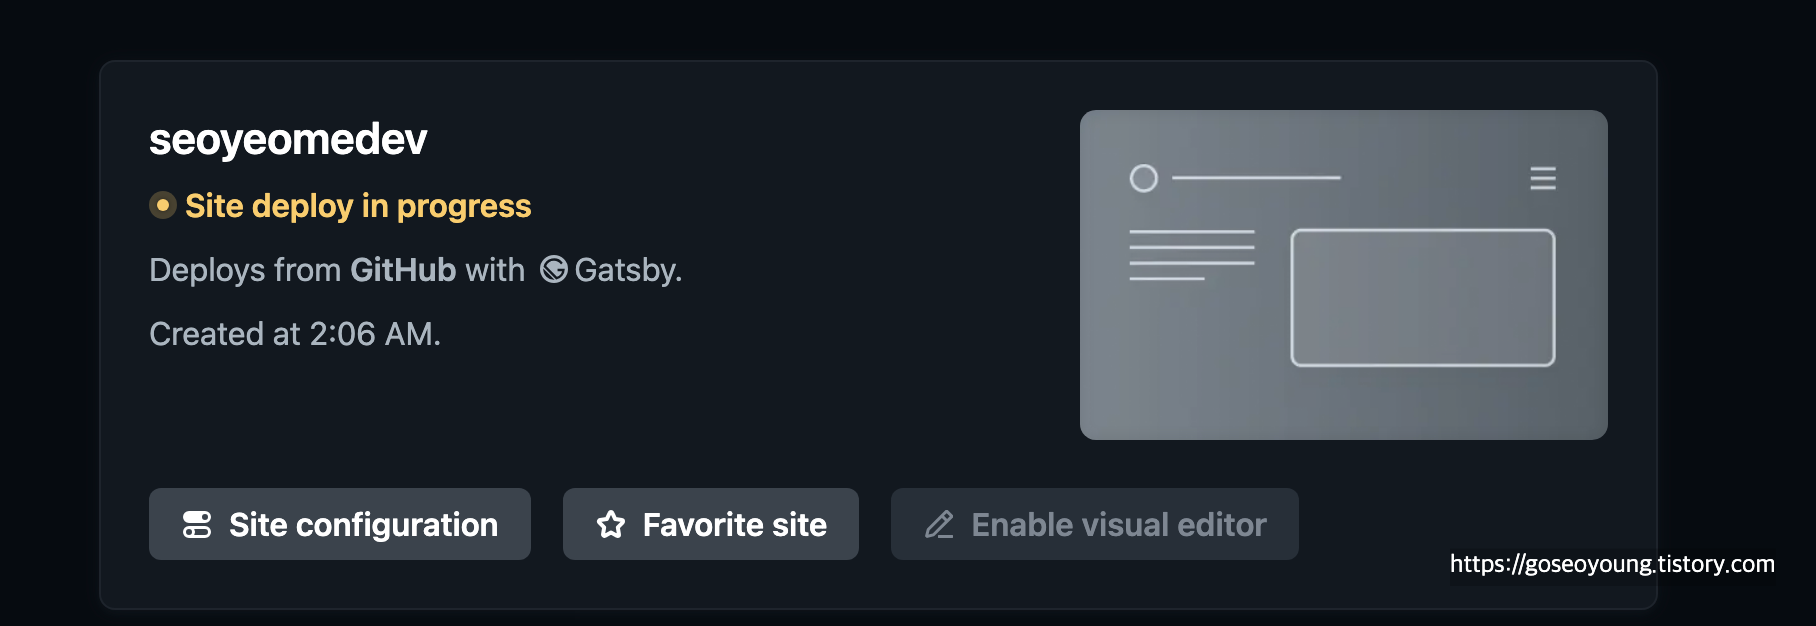
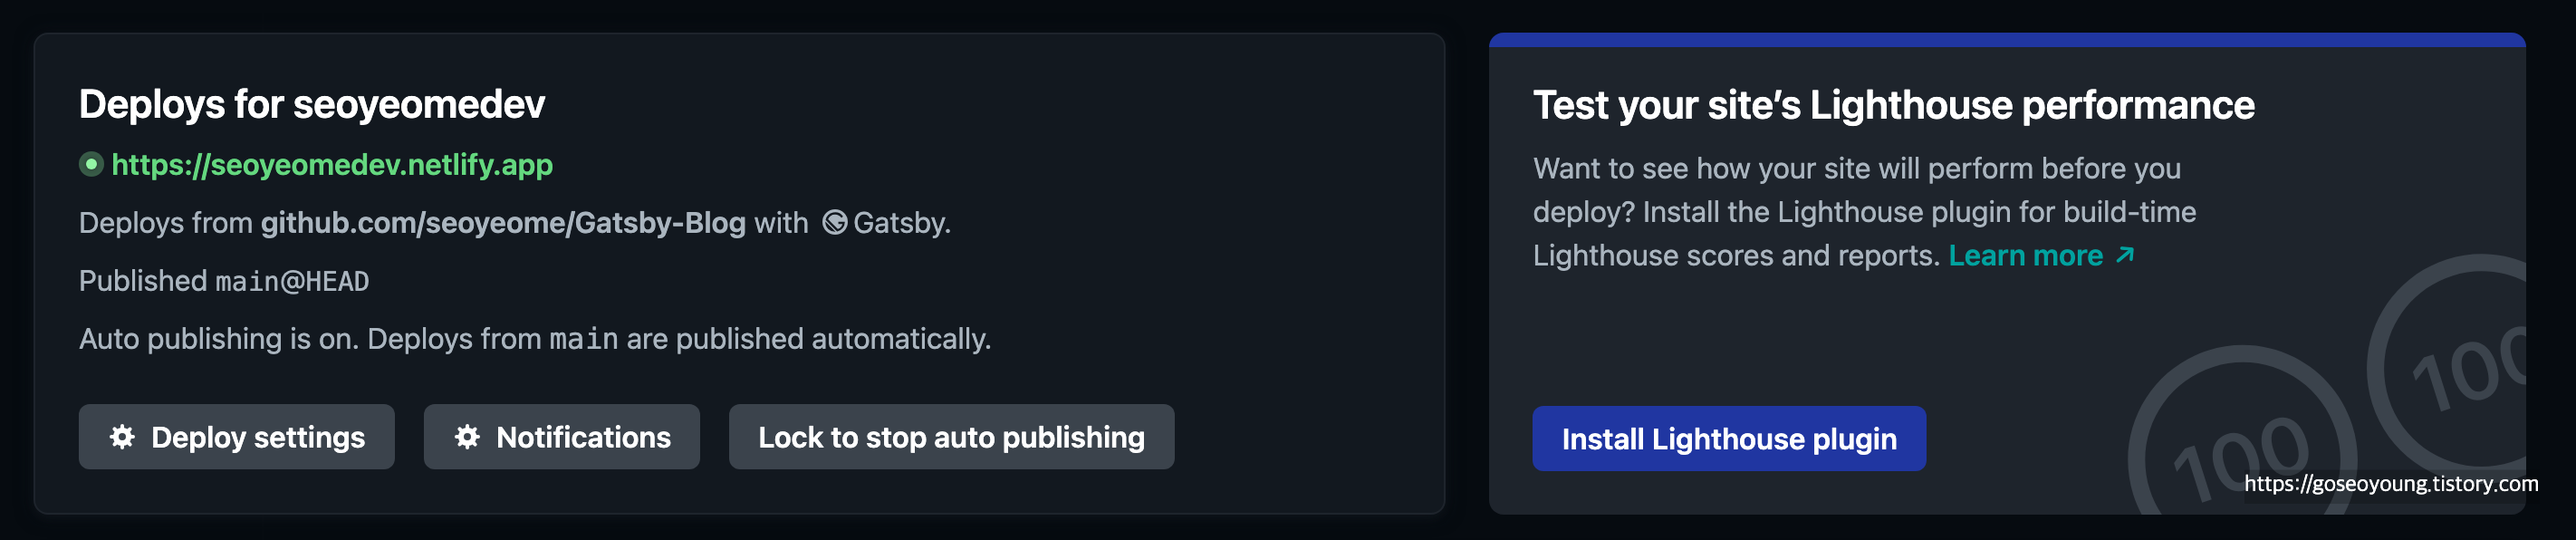
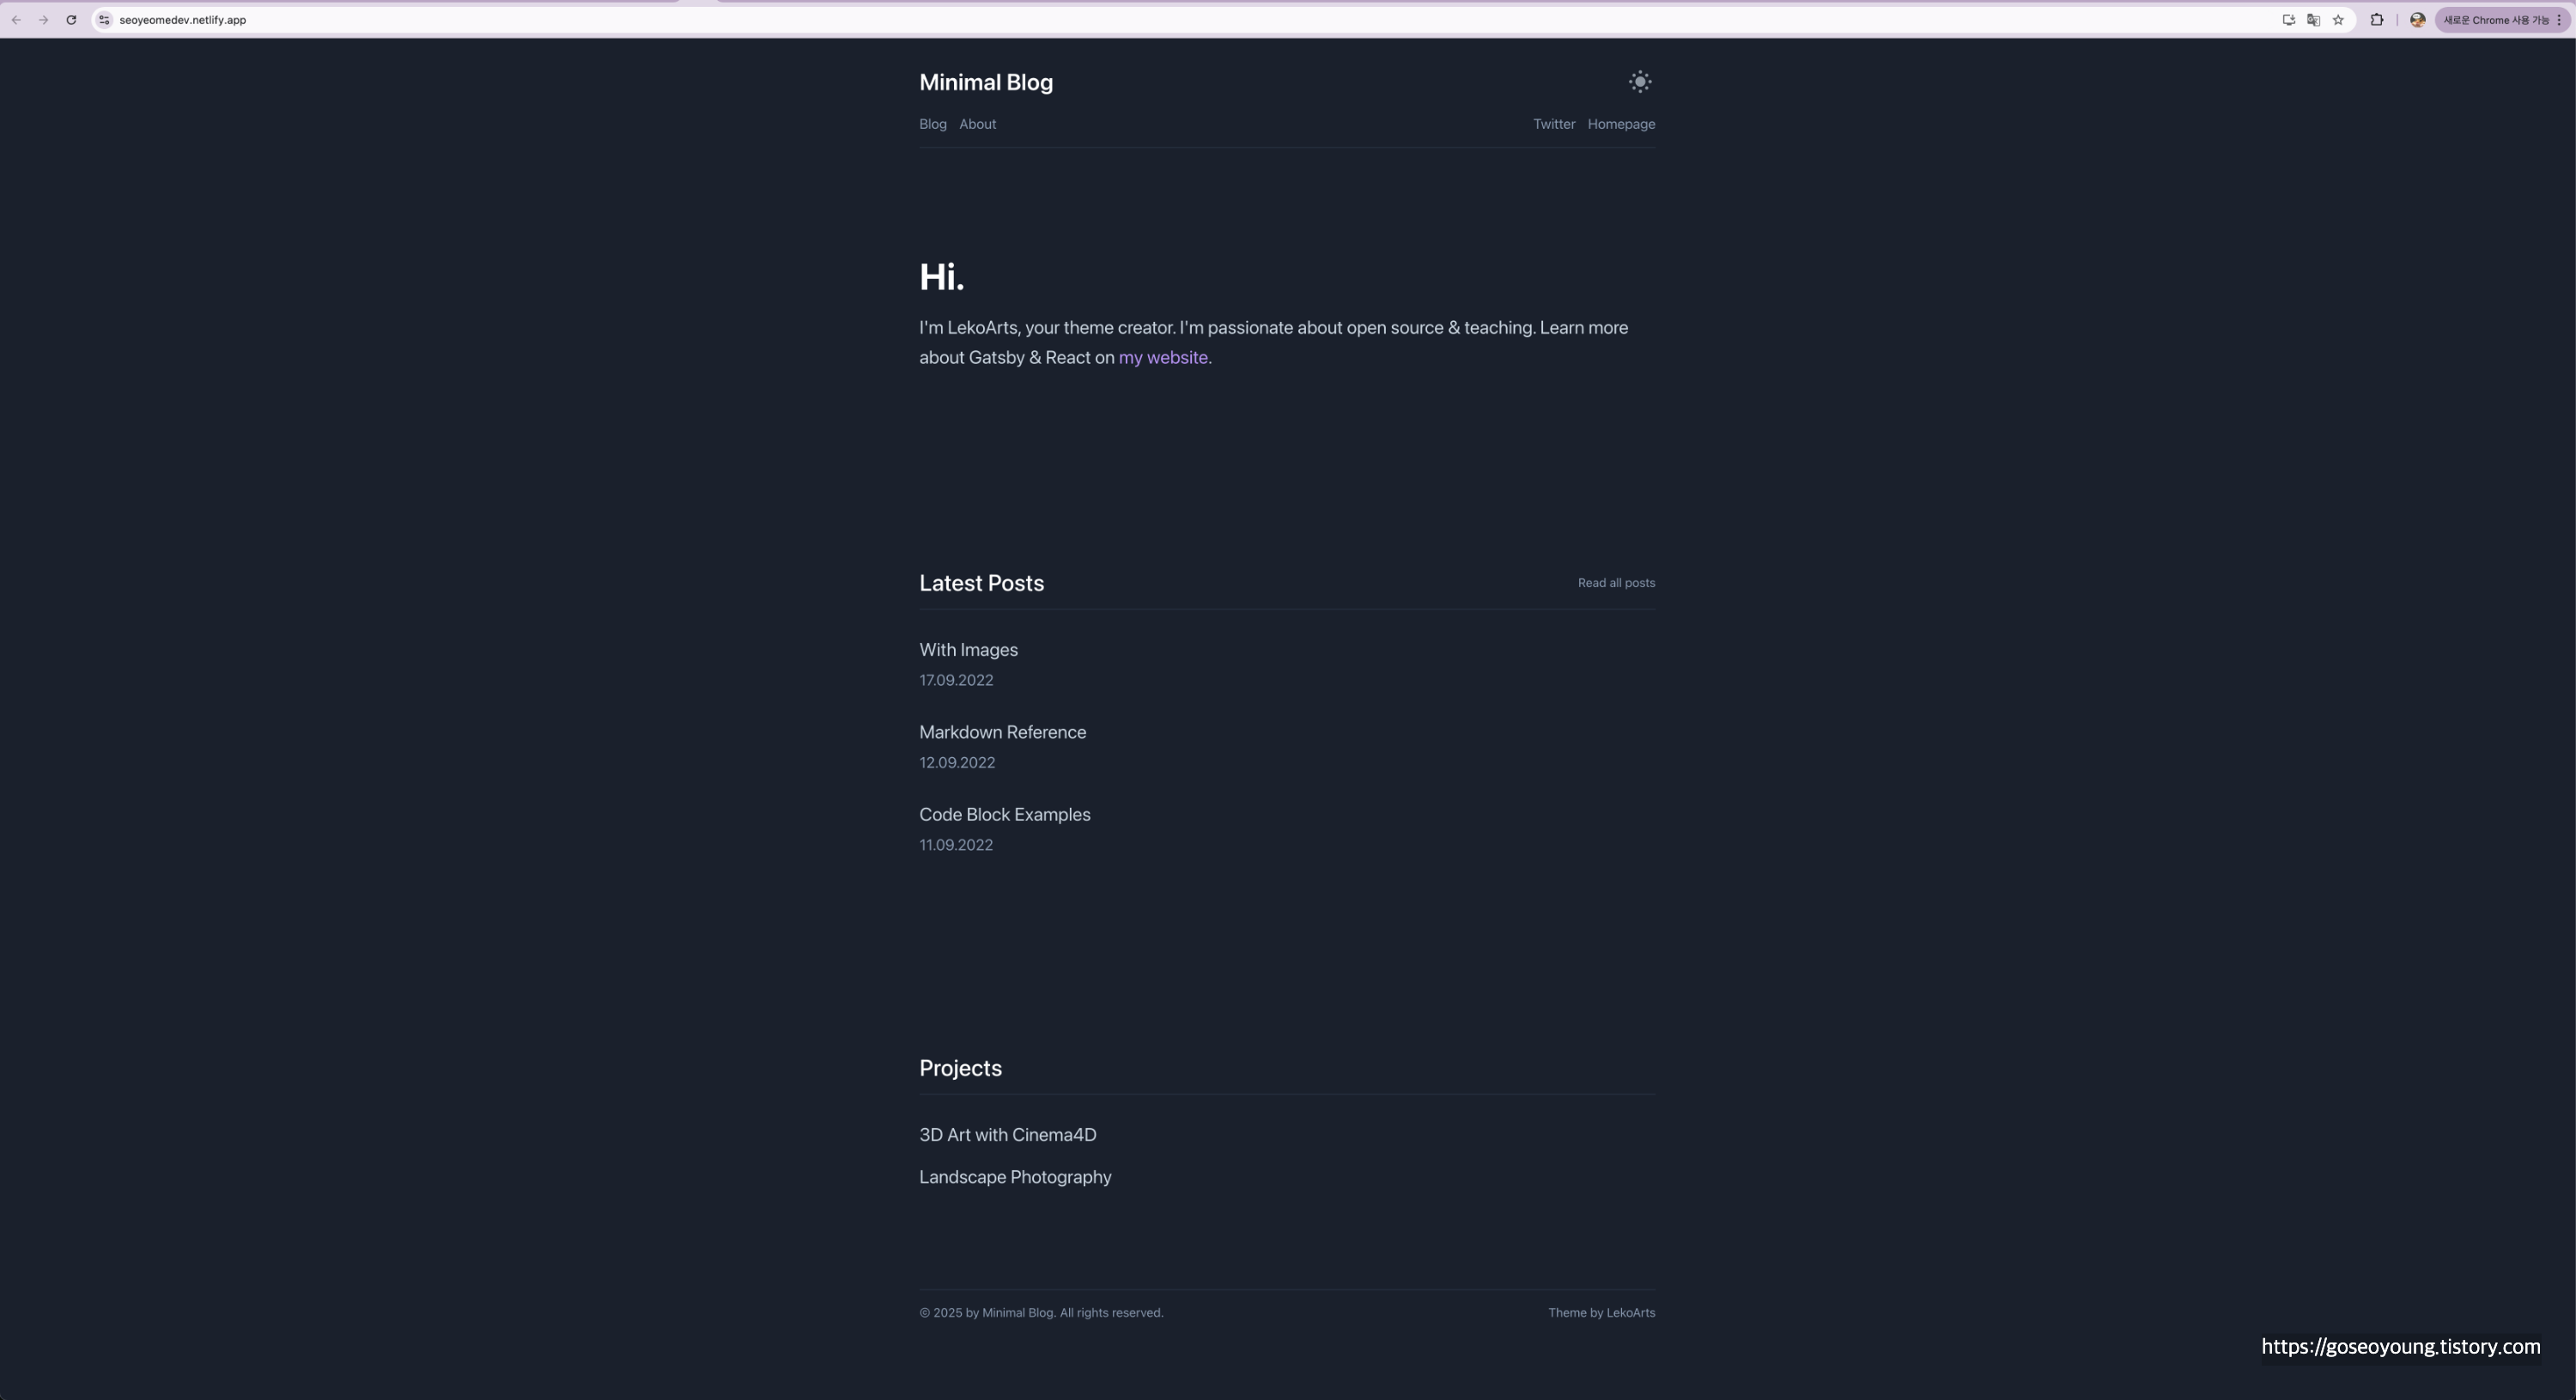
배포가 완료되면 지정한 url로 접속하여 블로그 확인이 가능합니다!
'취업' 카테고리의 다른 글
| [Gatsby 블로그] GitHub Repository 연동하기 (2) | 2024.12.20 |
|---|---|
| [Gatsby 블로그] 템플릿 사용해서 localhost 블로그 띄워보기 (1) | 2024.11.21 |
| [Gatsby 블로그] #2 pnpm 설치해서 Gatsby 설치 (0) | 2024.11.20 |
| [Gatsby 블로그] #1 Gatsby 알아보기 (3) | 2024.11.19 |
| LinkedIn 기본 프로필 아주 쉽게 작성하기★ (0) | 2024.11.18 |